Troubleshooting Electrical Issues
New bathroom fan not working – To ensure a proper power supply to your bathroom fan, a systematic approach is necessary. Begin by verifying the circuit breaker or fuse associated with the fan. If tripped or blown, reset or replace it. Next, inspect the wiring connections at the fan’s junction box, ensuring they are secure and not damaged.
Your new bathroom fan’s silence can be deafening. But fear not! A bathroom extractor fan with humidistat & timer might just be the solution. Its smart sensors detect moisture levels, activating the fan only when necessary, saving energy and reducing noise.
With this upgrade, your bathroom will regain its tranquil ambiance, and your new fan will finally find its voice.
Further troubleshooting may involve using a multimeter to test voltage and continuity. Set the multimeter to AC voltage mode and measure the voltage across the fan’s terminals. A reading close to the expected voltage (usually 120V) indicates power is reaching the fan. If no voltage is detected, check the wiring connections and the power source itself.
Testing Continuity, New bathroom fan not working
To test continuity, set the multimeter to the continuity setting. Touch one probe to one terminal of the fan and the other probe to the other terminal. A continuous circuit will produce a beep or display a low resistance reading. If no continuity is detected, the wiring may be broken or there may be a fault in the fan’s motor.
With the new bathroom fan not working, I had to think of a quick fix. A fresh coat of laura ashley wallpaper would have been a perfect solution to brighten up the space, but that would have to wait. For now, I needed to find a way to get the fan running again.
Examining Fan Components: New Bathroom Fan Not Working

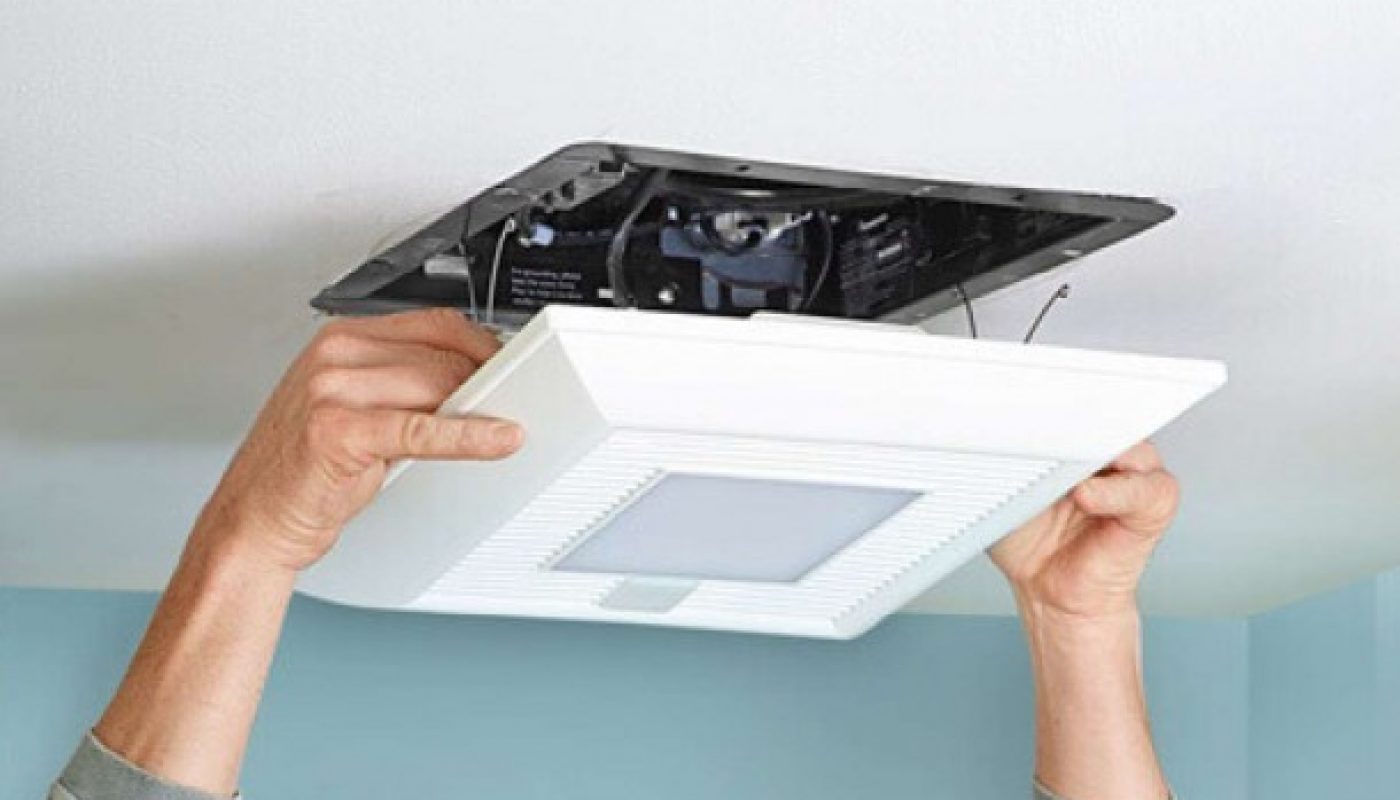
Disassembling the fan allows you to inspect its internal components for damage or wear.
To disassemble the fan, first turn off the power at the circuit breaker or fuse box. Remove the fan cover by unscrewing the screws that hold it in place. Once the cover is removed, you will have access to the fan’s motor, blades, and other mechanical parts.
Motor
Inspect the motor for any signs of damage, such as burnt wires or loose connections. Check the motor bearings for wear or damage. If the bearings are worn, they may need to be replaced.
Blades
Inspect the blades for any cracks or damage. If the blades are damaged, they may need to be replaced.
Other Mechanical Parts
Inspect the other mechanical parts of the fan, such as the mounting bracket and the wiring, for any signs of damage or wear. If any of these parts are damaged, they may need to be replaced.
Once you have inspected the fan’s components, clean and lubricate them to improve performance. Use a soft cloth to clean the components and apply a few drops of oil to the bearings. Reassemble the fan and turn on the power to test it.
Ventilation and Ductwork

Ensuring proper ventilation is crucial for the efficient functioning of your bathroom fan. Blockages in the ductwork can significantly impede airflow, leading to poor performance.
Checking for Blockages
Inspect the ductwork for any obstructions, such as debris, dust, or lint accumulation. Regularly clean the ductwork to prevent blockages and maintain optimal airflow.
Filter Cleaning and Inspection
Dirty filters can restrict airflow, affecting the fan’s performance. Regularly clean or replace the filters to ensure proper ventilation.
Exhaust Vent Inspection
Check the exhaust vent for any obstructions, such as bird nests or other debris. Clear any blockages to ensure unrestricted airflow.
Importance of Airflow
Adequate airflow is essential for the fan to function effectively. Proper ventilation helps remove moisture and odors from the bathroom, preventing condensation and mold growth.
