Planning Your DIY Pantry Storage Cabinet

A well-designed pantry storage cabinet can be a game-changer in your kitchen, maximizing space and organizing your food supplies. To ensure your cabinet meets your needs, careful planning is crucial.
Measuring Your Pantry Space, Diy pantry storage cabinet
Accurate measurements are essential for determining the ideal size and configuration of your cabinet. Start by measuring the width, depth, and height of your pantry space, taking note of any obstructions, such as pipes or electrical outlets. Remember to factor in any existing shelving or fixtures that you wish to retain.
Determining the Ideal Size and Configuration
Once you have accurate measurements, consider your storage needs. Think about the types of food you store, the frequency with which you access them, and any specific items you want to accommodate. You might want to consider features like pull-out shelves for easy access to items stored in the back, or adjustable shelves to accommodate varying container heights.
Materials and Tools
- Wood: Choose a durable and moisture-resistant wood like plywood or melamine-coated MDF for the cabinet structure.
- Hardware: This includes hinges, drawer slides, shelf supports, and door handles. Choose quality hardware for long-lasting functionality.
- Tools: You will need basic woodworking tools such as a saw, drill, screwdriver, tape measure, level, and clamps.
- Finishing Supplies: Select paint, stain, or varnish to protect and enhance the appearance of your cabinet.
Design Considerations
- Shelf Spacing: Consider the height of your food containers and the frequency with which you access them when determining shelf spacing. You may want to create a combination of fixed and adjustable shelves for flexibility.
- Door Style: Choose a door style that complements your kitchen’s aesthetic and offers the desired level of visibility. Sliding doors are space-saving, while hinged doors offer full access to the cabinet’s contents.
- Hardware Choices: Hardware can enhance both the functionality and the aesthetics of your pantry cabinet. Consider pull-out shelves, lazy Susans, and other features that will make your pantry more accessible and user-friendly.
Building the Cabinet Structure
With your pantry design in hand, it’s time to bring your vision to life by constructing the cabinet’s sturdy frame. This section will guide you through the process of cutting, joining, and assembling the cabinet’s foundational elements, ensuring a durable and long-lasting storage solution.
Cutting and Joining the Wood
Before beginning the construction process, gather your necessary tools and materials. These include a saw (circular, table, or miter saw), measuring tape, pencil, wood glue, clamps, and screws or nails. The type of wood you choose will depend on your preference and budget. For a robust and long-lasting cabinet, consider using plywood, MDF, or hardwood.
The first step is to accurately measure and cut the wood for the cabinet frame. Refer to your design plans and mark the dimensions on the wood using a pencil. Use a saw to cut the wood pieces to the desired lengths, ensuring precision and straight cuts.
Once the pieces are cut, it’s time to join them together. Several techniques can be employed to create a strong and stable frame. One common method is using wood glue and screws or nails. Apply wood glue to the joining surfaces and secure them with screws or nails, ensuring they are driven in straight and at the correct depth.
Another technique involves using pocket holes, which are small angled holes drilled into the wood that allow screws to be driven at an angle, creating a strong and hidden joint. This technique is particularly useful for joining pieces of wood at right angles.
Creating Sturdy Shelves
The shelves are the backbone of your pantry cabinet, providing ample storage space for your food items. Several methods can be used to create sturdy shelves, each with its own advantages and disadvantages.
Plywood Shelves
Plywood is a versatile and cost-effective material for shelves. It is available in various thicknesses and can be easily cut to size. Plywood shelves are sturdy and can support a considerable amount of weight.
Solid Wood Shelves
For a more elegant and durable option, consider using solid wood shelves. Solid wood is typically more expensive than plywood but offers a classic and timeless look. Choose a hardwood such as oak, maple, or cherry for a strong and attractive finish.
Adjustable Shelves
Adjustable shelves offer flexibility and allow you to customize the storage space based on your needs. They are typically made of metal or plastic and can be easily adjusted by sliding them into pre-drilled holes in the cabinet frame.
Creating Shelf Supports
Once you have chosen the material for your shelves, you need to create supports to hold them in place. Shelf supports can be made from various materials, including wood, metal, or plastic.
One common method is using shelf brackets, which are L-shaped metal pieces that are attached to the cabinet sides and provide support for the shelves. Another option is to use cleats, which are wooden strips that are attached to the cabinet sides and provide a surface for the shelves to rest on.
Assembling the Cabinet Frame
Now that you have cut and joined the frame pieces and chosen your shelving material and supports, it’s time to assemble the cabinet frame. This step involves connecting the side panels, top, bottom, and back pieces.
Assembling the Sides and Back
Start by attaching the side panels to the bottom piece of the cabinet. Use wood glue and screws or nails to secure the joints. Then, attach the back piece to the sides and bottom, ensuring it is flush with the edges.
Attaching the Top
Finally, attach the top piece to the sides and back. Make sure the top is level and flush with the sides and back. You can use clamps to hold the pieces in place while you drive the screws or nails.
Installing Doors and Hinges
The doors provide a finishing touch to your pantry cabinet and allow you to easily access your stored items. They can be made from various materials, including wood, glass, or metal.
Choosing Doors
The choice of doors depends on your design preferences and budget. Solid wood doors provide a classic and elegant look, while glass doors allow you to see the contents inside. Metal doors are durable and offer a modern aesthetic.
Installing Hinges
Once you have chosen your doors, you need to install hinges to allow them to open and close smoothly. Hinges are available in various styles and finishes, so choose those that complement your cabinet’s design.
Attaching the Doors
To attach the doors to the cabinet frame, first, mark the hinge positions on the door and the cabinet frame. Use a drill to create pilot holes for the hinge screws. Then, attach the hinges to the door and the cabinet frame, ensuring they are aligned correctly.
Finally, install the door handles or knobs to complete the installation.
Enhancing Functionality and Aesthetics

Now that the foundation of your DIY pantry storage cabinet is built, it’s time to focus on maximizing its functionality and aesthetics. This involves optimizing the interior space, adding organizational features, and applying a final touch that complements your kitchen’s style.
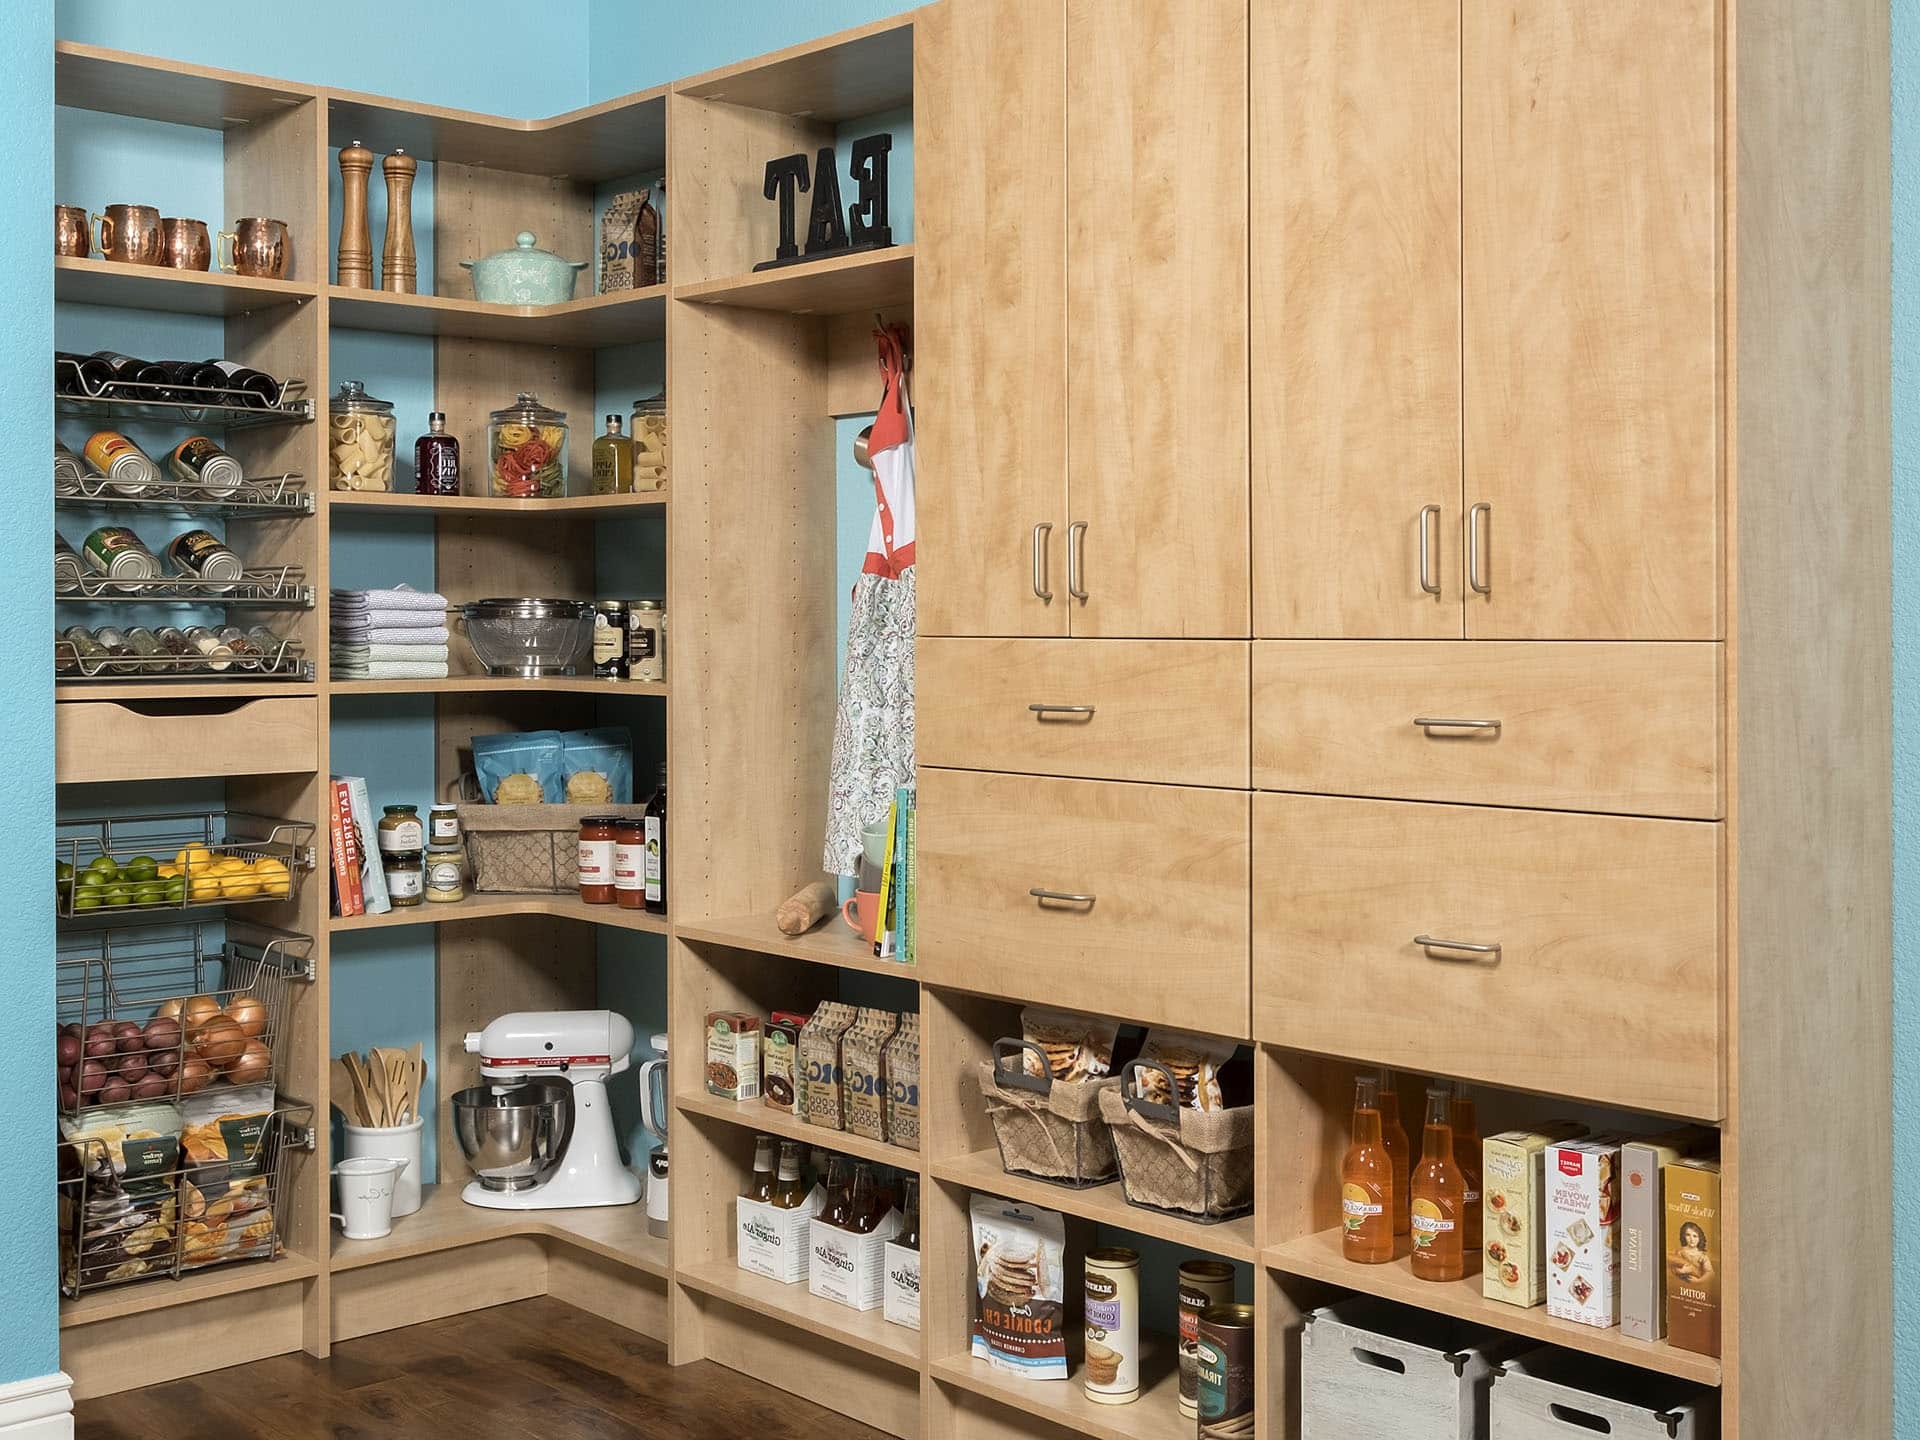
Maximizing Storage Space
Diy pantry storage cabinet – Maximizing storage space in your pantry cabinet is crucial for efficiently organizing your food supplies. This involves utilizing every inch of available space with thoughtful planning and implementation.
- Adjustable Shelves: Adjustable shelves are a versatile solution, allowing you to customize shelf heights to accommodate items of varying sizes. This ensures efficient use of vertical space, preventing wasted space above tall items.
- Pull-Out Drawers: Pull-out drawers are particularly useful for storing smaller items like spices, snacks, or baking ingredients. They allow for easy access and prevent items from getting lost at the back of the cabinet.
- Turntables: Turntables are a space-saving solution for storing items in corners or tight spaces. They allow you to easily access items without having to move other items around.
- Wire Baskets: Wire baskets can be used to store items like fruits, vegetables, or canned goods. They provide visibility and allow air circulation, helping to prevent spoilage.
- Wall-Mounted Storage: Utilize wall-mounted storage solutions like hooks, racks, and organizers to store items like utensils, cookware, or cleaning supplies. This frees up valuable shelf space and keeps frequently used items within easy reach.
Choosing and Applying Paint or Stain
Choosing the right paint or stain for your pantry cabinet can significantly impact its aesthetics and overall look. Consider the existing décor of your kitchen and select a finish that complements the existing style.
- Paint: Paint offers a wide range of colors and finishes, allowing you to create a customized look. Consider using a durable, washable paint that can withstand spills and stains.
- Stain: Stain enhances the natural grain of the wood, creating a warm and rustic look. Choose a stain color that complements the existing kitchen décor and provides a protective finish.
- Application: When applying paint or stain, use a high-quality brush or roller for even coverage. Ensure proper ventilation and wear protective gear, such as gloves and a mask.
Adding Decorative Touches and Finishing Details
Adding decorative touches and finishing details can transform your pantry cabinet from functional to stylish. This involves incorporating elements that enhance the aesthetic appeal and personalize the cabinet.
- Hardware: Choose stylish knobs or pulls that complement the cabinet’s design and your kitchen’s décor. Consider using unique handles or pulls that add a touch of personality.
- Molding: Adding molding to the cabinet doors or frame can create a more polished and sophisticated look. Consider using decorative molding that matches the existing kitchen trim.
- Lighting: Install a light fixture inside the cabinet to improve visibility and enhance the overall aesthetic. Choose a light that complements the cabinet’s style and provides adequate illumination.
Building a DIY pantry storage cabinet can be a rewarding project, offering customized solutions for your space. However, if you’re looking for a pre-built option with a sleek aesthetic, the convenience concepts tv stand with 3 cabinets black might be a good alternative.
This TV stand provides ample storage with its three cabinets, and its black finish adds a touch of modern elegance. While not specifically designed for pantry storage, it can certainly serve as a stylish and functional storage solution for a variety of items.
Building a DIY pantry storage cabinet is a fantastic way to maximize space and organization. But, for a similar sense of functionality in your living room, consider a lift up tv cabinet – it provides hidden storage for electronics and accessories while seamlessly integrating with your décor.
Just like your pantry cabinet, a lift up tv cabinet offers a streamlined look and easy access to your entertainment essentials.
